Acrylic Overlay Nails: Enhance Your Nail Strength and Style Today!
In the world of nail enhancements, learning how to do acrylic overlay step by step is a key skill that can elevate your nail game significantly. Whether you are a professional nail technician or an enthusiastic DIYer, understanding this technique will help you achieve stunning results while protecting and beautifying your natural nails.
How to do acrylic overlay step by step
Getting started with an acrylic overlay requires some preparation and knowledge of the necessary tools and techniques. This section provides a comprehensive overview of the process, ensuring you’re well-equipped to create beautiful acrylic overlays that enhance your natural nails.


Gather Your Materials
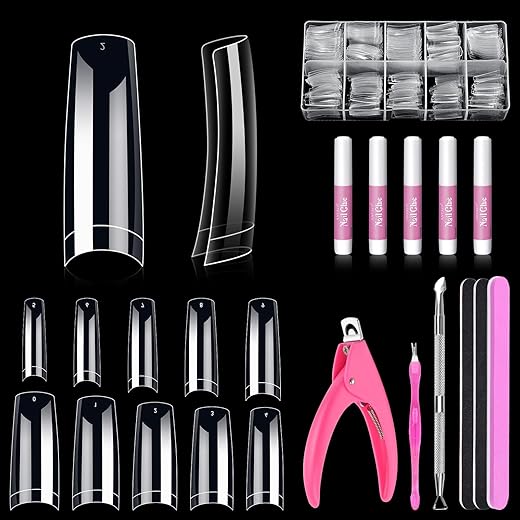
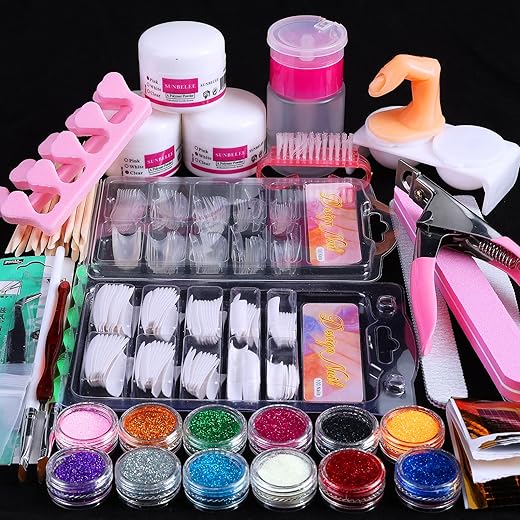
Before diving into the application process, it’s crucial to gather all the materials you will need. Here’s a handy list:
- Acrylic powder
- Liquid monomer
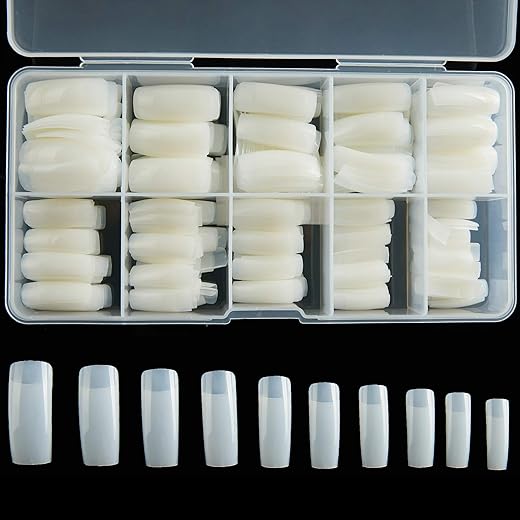
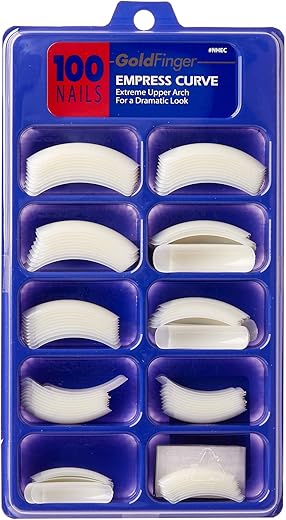
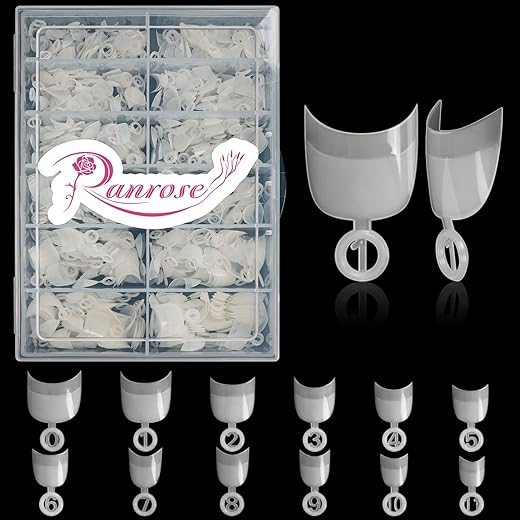
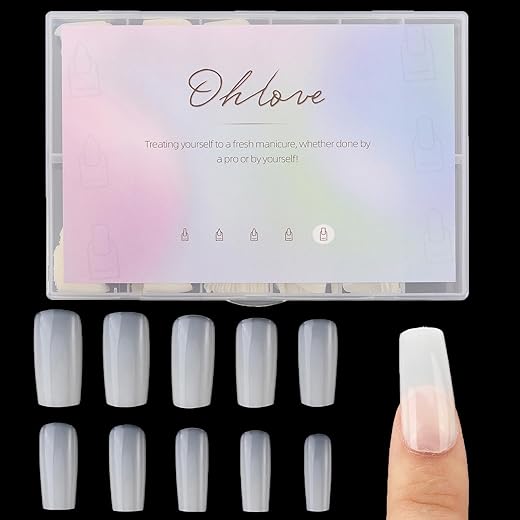
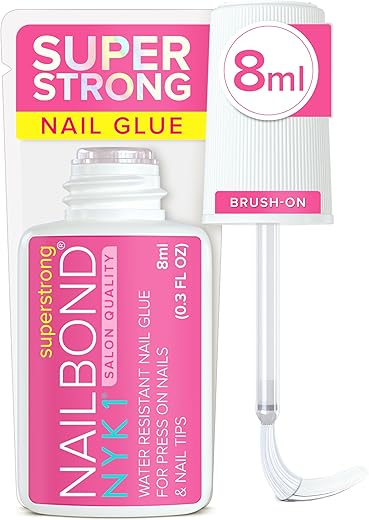
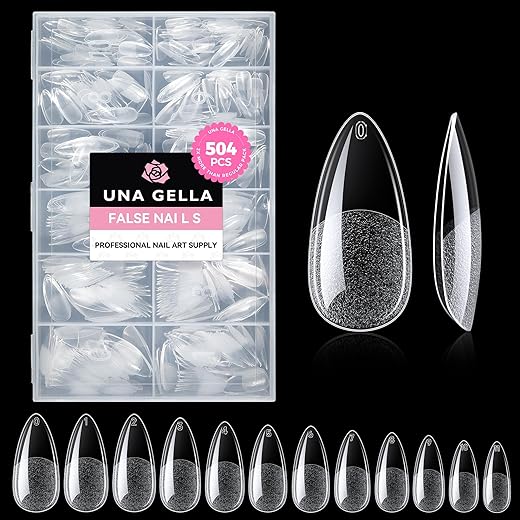
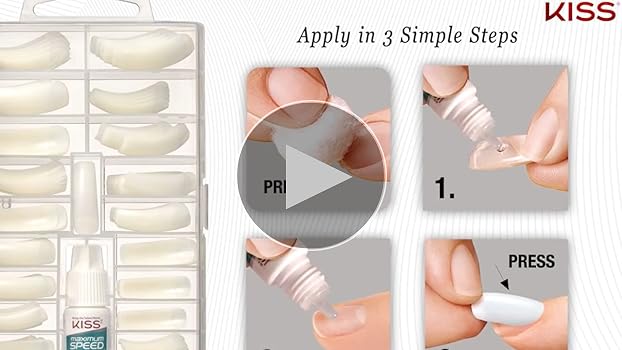
- Nail tips (optional)
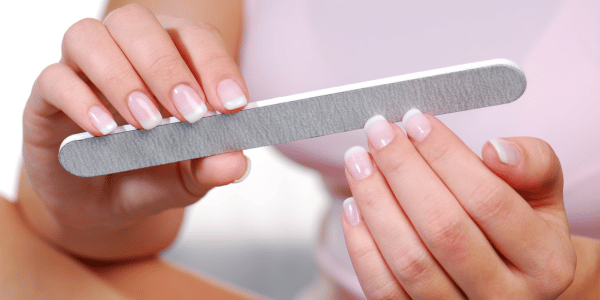
- Nail file and buffer
- Cuticle pusher
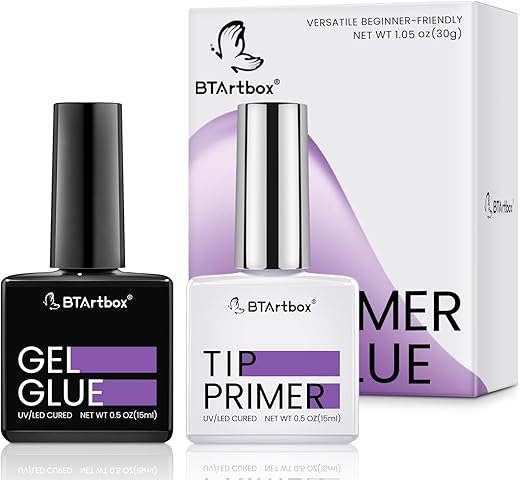
- Nail primer
- Brush for acrylic application
- Dappen dish
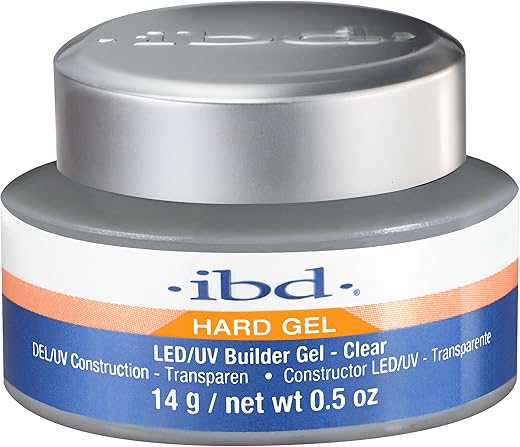
- Top coat
- UV/LED lamp (if using gel topcoat)
Having everything ready helps streamline the process and minimizes interruptions.
Prepare Your Nails
Proper nail preparation is vital for achieving an effective acrylic overlay. Start by cleaning your hands thoroughly and sanitizing your working area. Then, follow these steps:
- Push back your cuticles: Use a cuticle pusher to gently push back your cuticles, which allows for better adhesion of the acrylic.
- File your nails: Shape your natural nails according to your preference. When filing, be gentle to avoid damaging your nail bed.
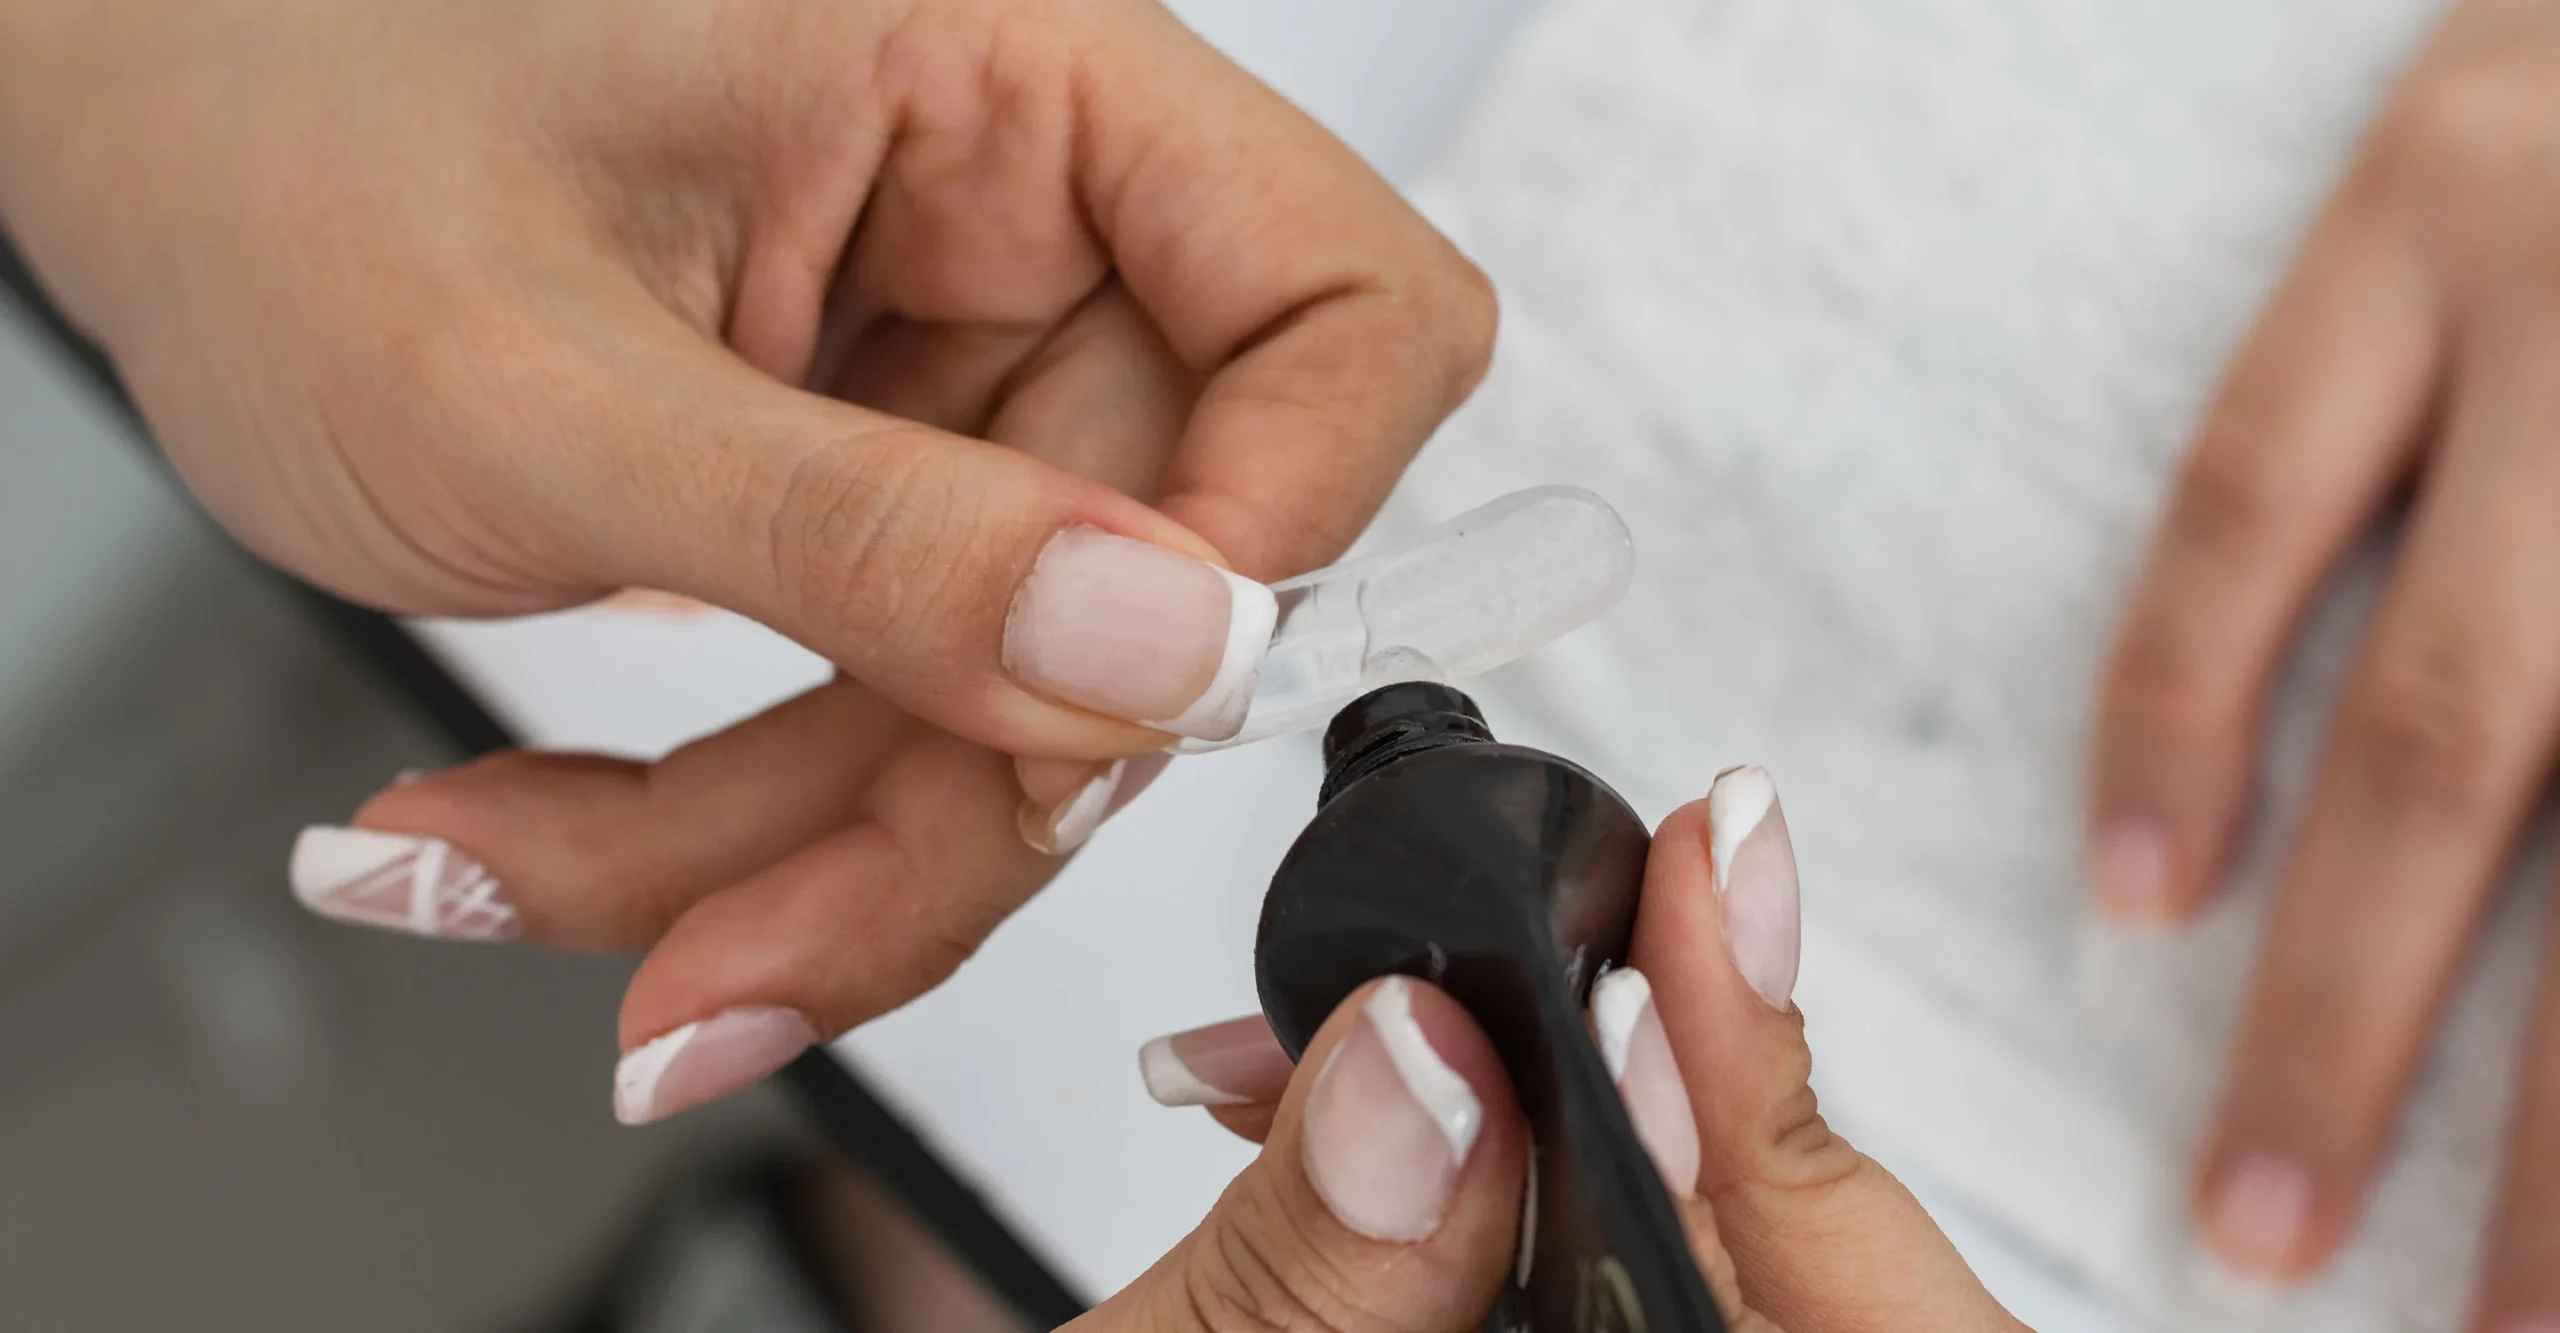
- Apply nail primer: Using a brush, apply the nail primer to strengthen the bond between your natural nails and the acrylic. Allow it to dry for a few moments before moving to the next step.
Mix the Acrylic
The next step involves mixing the acrylic powder with the liquid monomer properly.
- Use a dappen dish: Pour a small amount of liquid monomer into one compartment and acrylic powder into another.
- Create a bead: Dip your brush into the monomer, then into the powder, creating a bead. The ratio should typically be one part liquid to two parts powder.
- Achieve the right consistency: The ideal bead should be wet enough to apply but not runny. Practice makes perfect, so take your time mastering this step.
Apply the Acrylic
Now comes the most exciting part: applying the acrylic overlay!
- Start at the cuticle area: Place the bead near the cuticle and use your brush to gently spread it toward the free edge of the nail.
- Build the structure: Use additional beads to build up the apex of the nail. This creates strength and durability; thus, ensure you blend them seamlessly.
- Smooth the surface: As you work, use your brush to smooth the surface of the acrylic to avoid lumps and bumps.
- Cure if necessary: If you’re using a gel topcoat, cure it under the UV/LED lamp as per the manufacturer’s instructions.
Finish Your Nails
Completing your acrylic overlay is about achieving a flawless finish.
- File and buff: Once the acrylic has cured, use a nail file to shape and refine your nails. Buff the surface to make it shiny and smooth.
- Moisturize: Apply cuticle oil to nourish the cuticles and give a polished look.
- Add a topcoat: Finally, seal everything with a glossy or matte topcoat to enhance the longevity of your acrylic overlay.
By following these detailed steps, you will successfully learn how to do acrylic overlay step by step, creating durable and beautiful acrylic nails.


Best acrylic overlay for natural nails

When discussing the best acrylic overlay for natural nails, it’s essential to consider several factors including product quality, ease of use, and the specific needs of your nails. In this section, we will explore various options available in the market and provide guidance on how to choose the best products.
Understanding Acrylic Products
Acrylic products come in various forms, and each has its unique characteristics. It’s vital to understand what works best for your individual situation.
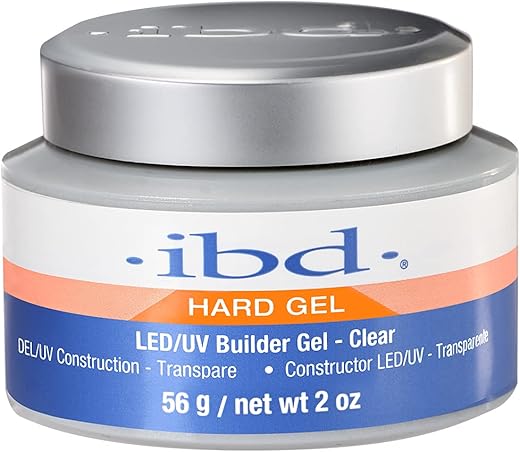
- Acrylic powder: This is the heart of any acrylic overlay. Look for powders that are finely milled and contain high-quality polymers.
- Liquid monomer: Ensure that the liquid monomer is low-odor and non-yellowing. This ensures a pleasant experience and lasting results without discoloration.
Recommended Brands
There are numerous brands known for their quality acrylic overlay products. Here’s a brief overview of some of the top contenders:
- Mia Secret: Offers a range of acrylic powders and liquids that are user-friendly and suitable for both beginners and professionals.
- Young Nails: Known for their innovative formulas, they provide high-quality acrylic systems that ensure durability and strength.
- Kupa Inc.: Famous for their precision and quality, their acrylic products are favored by many nail technicians.
Choosing the right brand can have a significant impact on the outcome of your acrylic overlay. Testing different brands may help you find the one that suits your style and technique best.


Tips for Choosing the Right Products
Selecting the appropriate acrylic products can seem overwhelming. Here are some tips to guide you:
- Check reviews: Always read customer reviews to gauge the effectiveness of the products you are considering.
- Seek recommendations: Ask fellow nail enthusiasts or professionals for their tried-and-true products.
- Consider allergies: If you have sensitive skin or nail beds, it’s crucial to look for hypoallergenic formulas to avoid adverse reactions.
By carefully selecting the best acrylic overlay for natural nails, you can enhance the beauty of your nails while ensuring they remain healthy and strong.
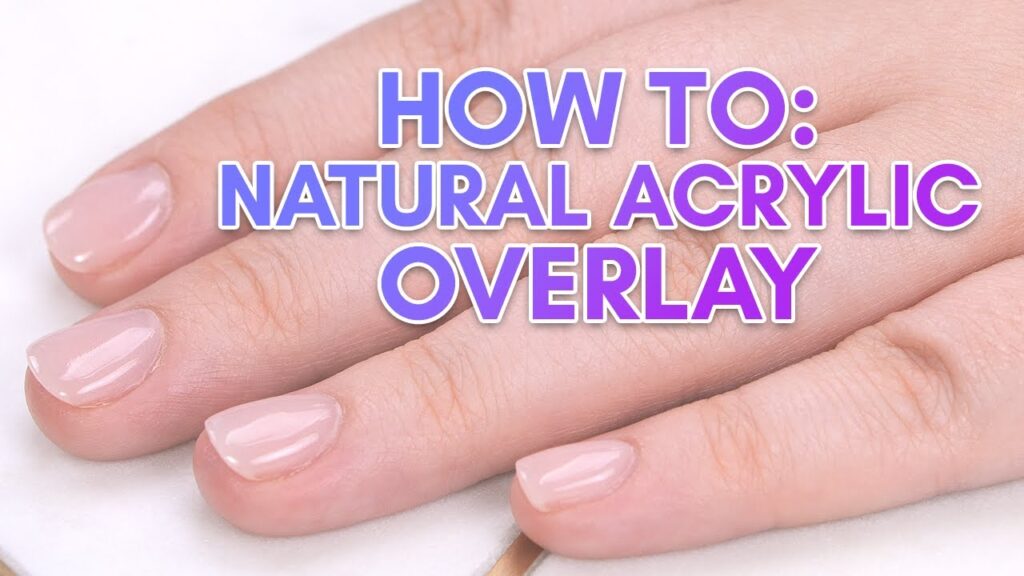
Acrylic overlay nails
Delving into the world of acrylic overlay nails opens a realm of creativity and style. In this section, we will explore the benefits of acrylic overlays, popular styles, and maintenance tips to keep your nails looking fabulous.
Benefits of Acrylic Overlays
Choosing an acrylic overlay over traditional nail extensions offers several advantages.
- Natural look: Unlike full acrylics, overlays maintain the natural length of your nails while providing added strength and protection.
- Durability: Acrylic overlays can withstand daily activities while minimizing breakage and chipping.
- Customization: With acrylic overlays, you can play around with colors, designs, and textures to truly express your personality.
- Protective layer: They serve as a protective barrier against damage from environmental factors, helping your natural nails grow stronger.
Popular Designs for Acrylic Overlay Nails
With acrylic overlays, there’s no limit to creativity. Here are a few trending designs to consider:
- French tips: A classic design that never goes out of style. This involves painting the tips of the nails white or any color of your choice, leaving the rest of the nail transparent or nude.
- Ombre: Transitioning from one color to another creates a beautiful gradient effect. This is achieved by blending two colors seamlessly.
- Nail art: Adding intricate designs, glitter, or nail foils can elevate your acrylic overlay nails to the next level.
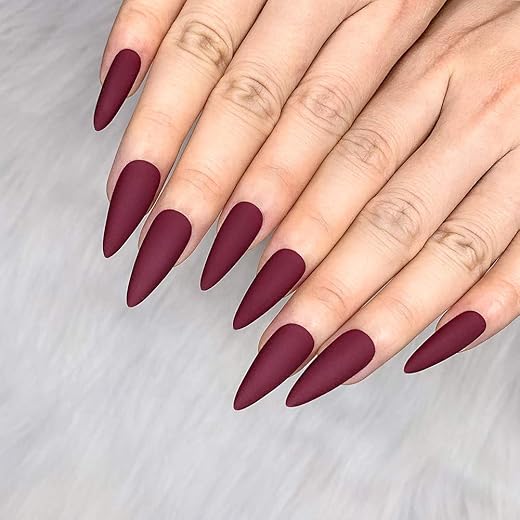
- Matte finishes: Instead of glossy, a matte topcoat adds a chic and modern aesthetic.
Maintenance Tips
To keep your acrylic overlay nails looking fresh and beautiful:
- Regular fills: Just like traditional acrylics, overlays will require fills every 2-3 weeks as your natural nails grow.
- Hydration: Keep your cuticles hydrated with cuticle oil to prevent dryness and peeling.
- Gentle care: Be cautious when engaging in activities that may put stress on your nails to avoid breakage.
- Avoid harsh chemicals: Limit exposure to harsh cleaning supplies or solvents that may weaken the acrylic overlay.
By embracing the world of acrylic overlay nails, you can enjoy stunning and durable nails that reflect your personal style while maintaining the health of your natural nails.
FAQs

What is the difference between acrylic overlay and acrylic nails?
An acrylic overlay is a thin layer applied over natural nails for protection and enhancement, while acrylic nails involve adding extra length by applying artificial nail tips.
How long do acrylic overlays last?
Typically, acrylic overlays can last anywhere from two to four weeks, depending on the growth of your natural nails and the care they receive.
Can I remove acrylic overlays at home?
While it’s possible to remove acrylic overlays at home using acetone, it’s recommended to visit a professional for safe removal to prevent damage to your natural nails.
Are acrylic overlays damaging to natural nails?
When done correctly and maintained well, acrylic overlays are less damaging than full acrylic nails. However, improper application or removal can harm the natural nail.
How often should I get my acrylic overlay filled?
Fills are generally required every two to three weeks, depending on how quickly your natural nails grow and how well you maintain them.
Conclusion
Mastering how to do acrylic overlay step by step is a valuable skill that enhances the beauty and protection of your natural nails. By following the outlined processes, selecting the right products, and exploring creative designs, you can enjoy stunning results with minimal effort. Whether for yourself or clients, acrylic overlays offer a fantastic way to showcase individuality while prioritizing nail health. Embrace this art form and let your nails become a canvas for expression!